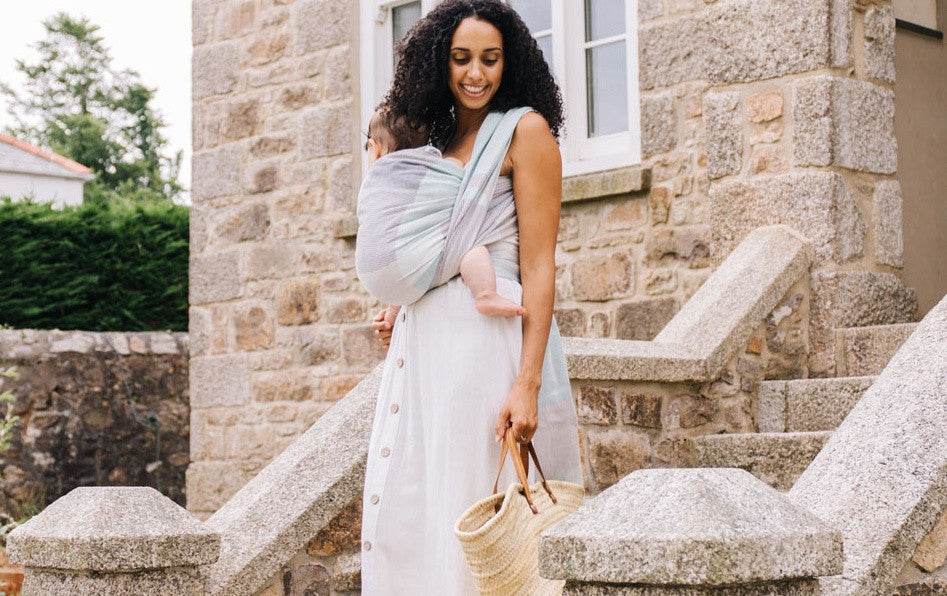
Our Top Tips will help you fall in love with your first wrapping experience!
New to wrapping and want to know more about what a baby wrap is? Then visit our information page for a more detailed overview of the sling itself.
1. Notice how you hold your baby
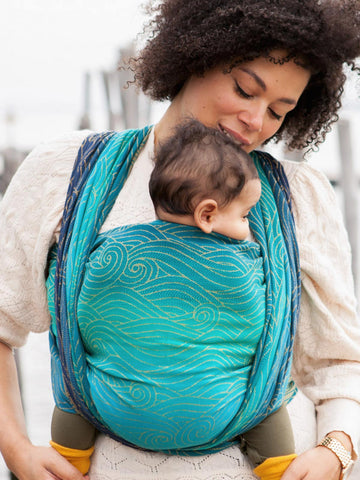
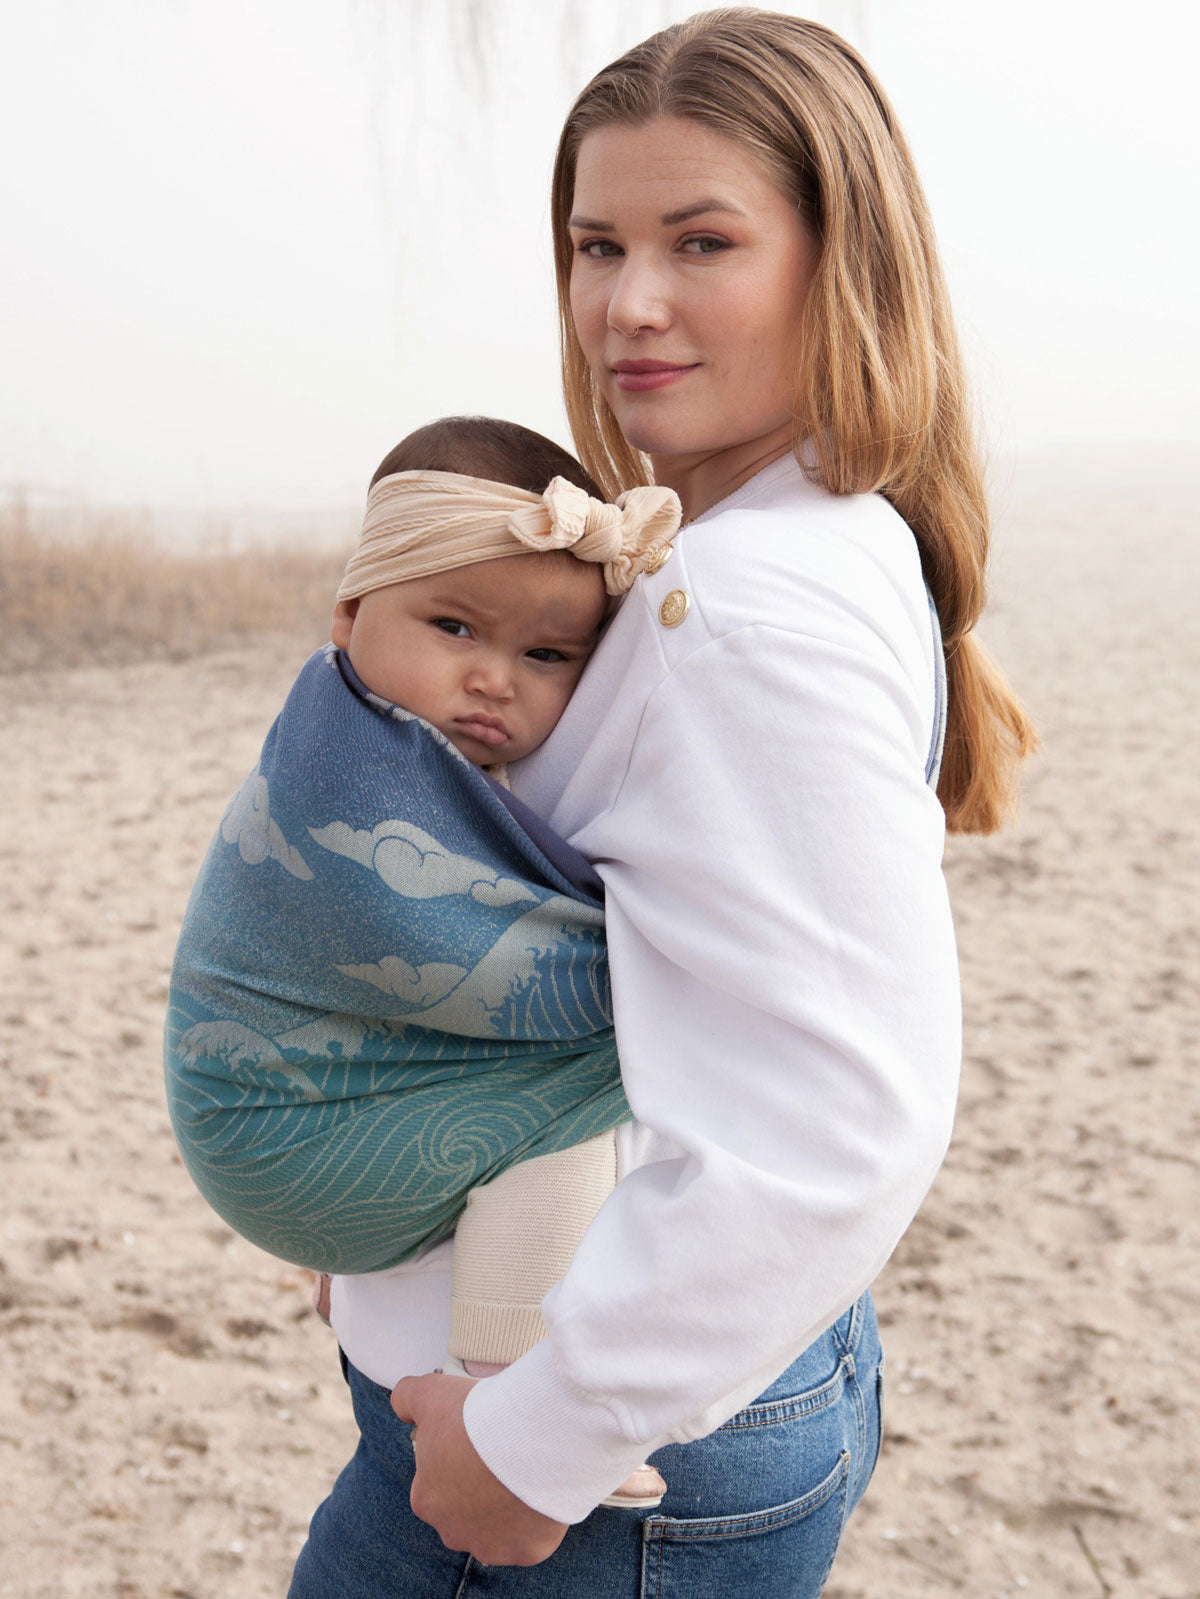
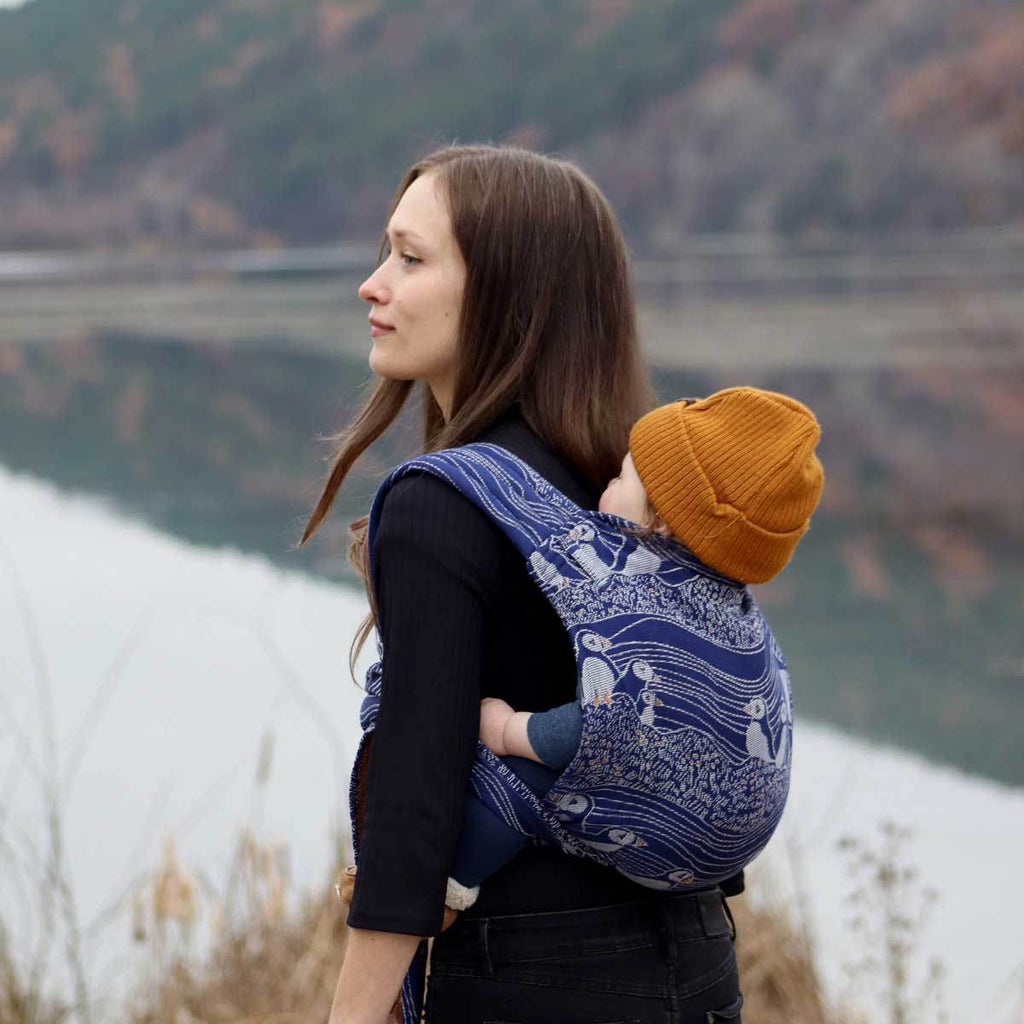
When we wrap our babies we're wrapping around their natural spread squat position which is beneficial for their hips, comfort and development.
2. Prepare Beforehand
Find a video of a carry that you like and watch it a few times beforehand, notice whether they put the wrap on first, or start with their baby in their arms, notice the size of wrap they use and how they tighten each strand.
Here are some YouTube channels you might find useful:
Oscha Slings
Sheffield Sling Surgery
3. Learn the Lingo,
You'll ometimes find videos sound like they're speaking another language! Here are some commonly used terms and what they mean.
Passes: Layers. When you put a wrap on you'll often create layers. A layer going straight across your body is called a horizontal pass. A layer going from under your arm, to over your shoulder is called a cross pass.
A Carry: The way you put the wrap on yourself. This consists of a combination of passes as mentioned above, and the order and combination is what gives the 'carry' it's name. For example a Front Cross Carry is a front carry with two cross passes. A Front Wrap Carry is a front carry with a horizontal pass, and two cross passes.
Rails: Rails describe the sections of a wrap. The top rail is the top section, the bottom rail the bottom section. Rails are more than just the hems, so it's important when tightening to ensure, for example, that if it says to tighten the top rail that you tighten the top section of the wrap, being cautious not to over tighten the hemming itself.
Blends: Wraps are composed of various fibres, and the combination of these fibres is called a blend.
Tails: The ends of the wrap.
M Position: The natural, spread squat position of babies, so called because the bottom being lower than the knees creates the appearance of an 'M'.
Deep Seat: Another reference to the position above, for tips on how to create a good seat check out this video:
4. Practice without your baby
Do a complete run through without your baby, getting familiar with where the fabric goes next, and which bits to pull to tighten the top, middle and bottom thirds of the wrap. This gives you the confidence to know what to do next even if you have a very wiggly baby and also helps create some muscle memory so your body is more familiar with where to reach next.
5. Get it safe and comfortable, and perfect later
Your primary concern is your baby's safety, and then that they're comfortable and so are you. Perhaps you didn't spread the wrap to show the 'prettiest' side, or the wrap looks a little messy on your shoulders? As long as your baby is safe and you're both comfortable, it doesn't matter one bit, and you can always tweak it as the day goes on.
6. Take Your Time
Wrapping videos are often sped up, or done by experts who do this many times a day, but the reality is that one of the wonderful benefits of wrapping is bonding. What better way to bond than by taking your time? Enjoy the process as you create this supportive and comforting cocoon around yourselves.
7. Pre-tie your wrap when out and about
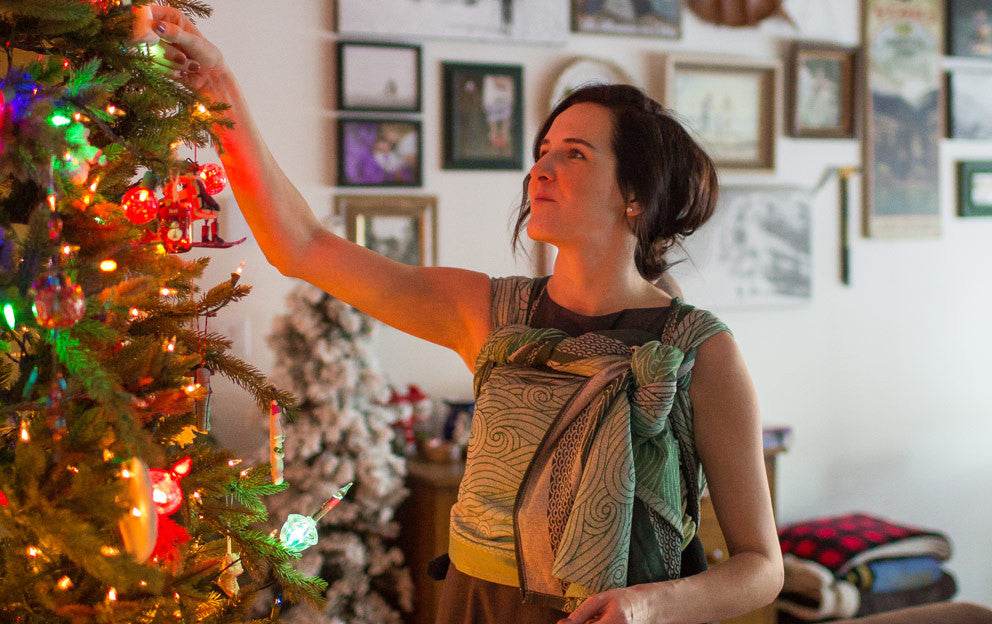
Wrapping out and about can be daunting at first, and while you do quickly get used to it, you can also do pre-tied carries. With carries like the Front Cross Carry, you can put the wrap on first, and when you arrive at your destination already wrapped, simply pop your baby in and give a little tightening and you're ready to go.
If you tried wrapping for the first time we'd love to hear how it went!
Use the hashtag #oschafirsts so we can celebrate with you!
If you have concerns about settling your little one in a sling then this article might be helpful for troubleshooting your carry.
Learn more about choose the perfect first sling for your newborn.
Best Baby Carrier For Newborns 2025

Grey Havens: Oscha Lord of the Rings Design Development
Can Baby Carriers Cause Back Pain?



 https://oschaslings.com