Learn about the onbuhimo, a lightweight back carrier with no waist belt, ideal for toddlers, including how to use it and whether you should choose this or another baby carrier
What is an onbuhimo carrier?
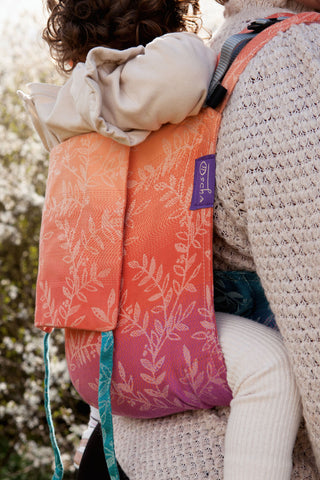
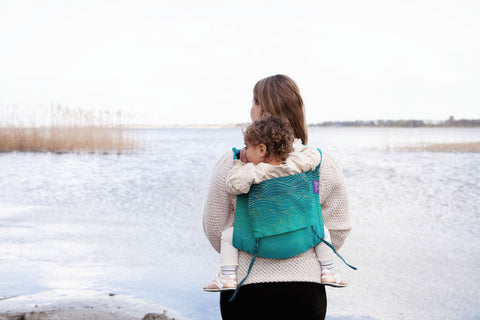
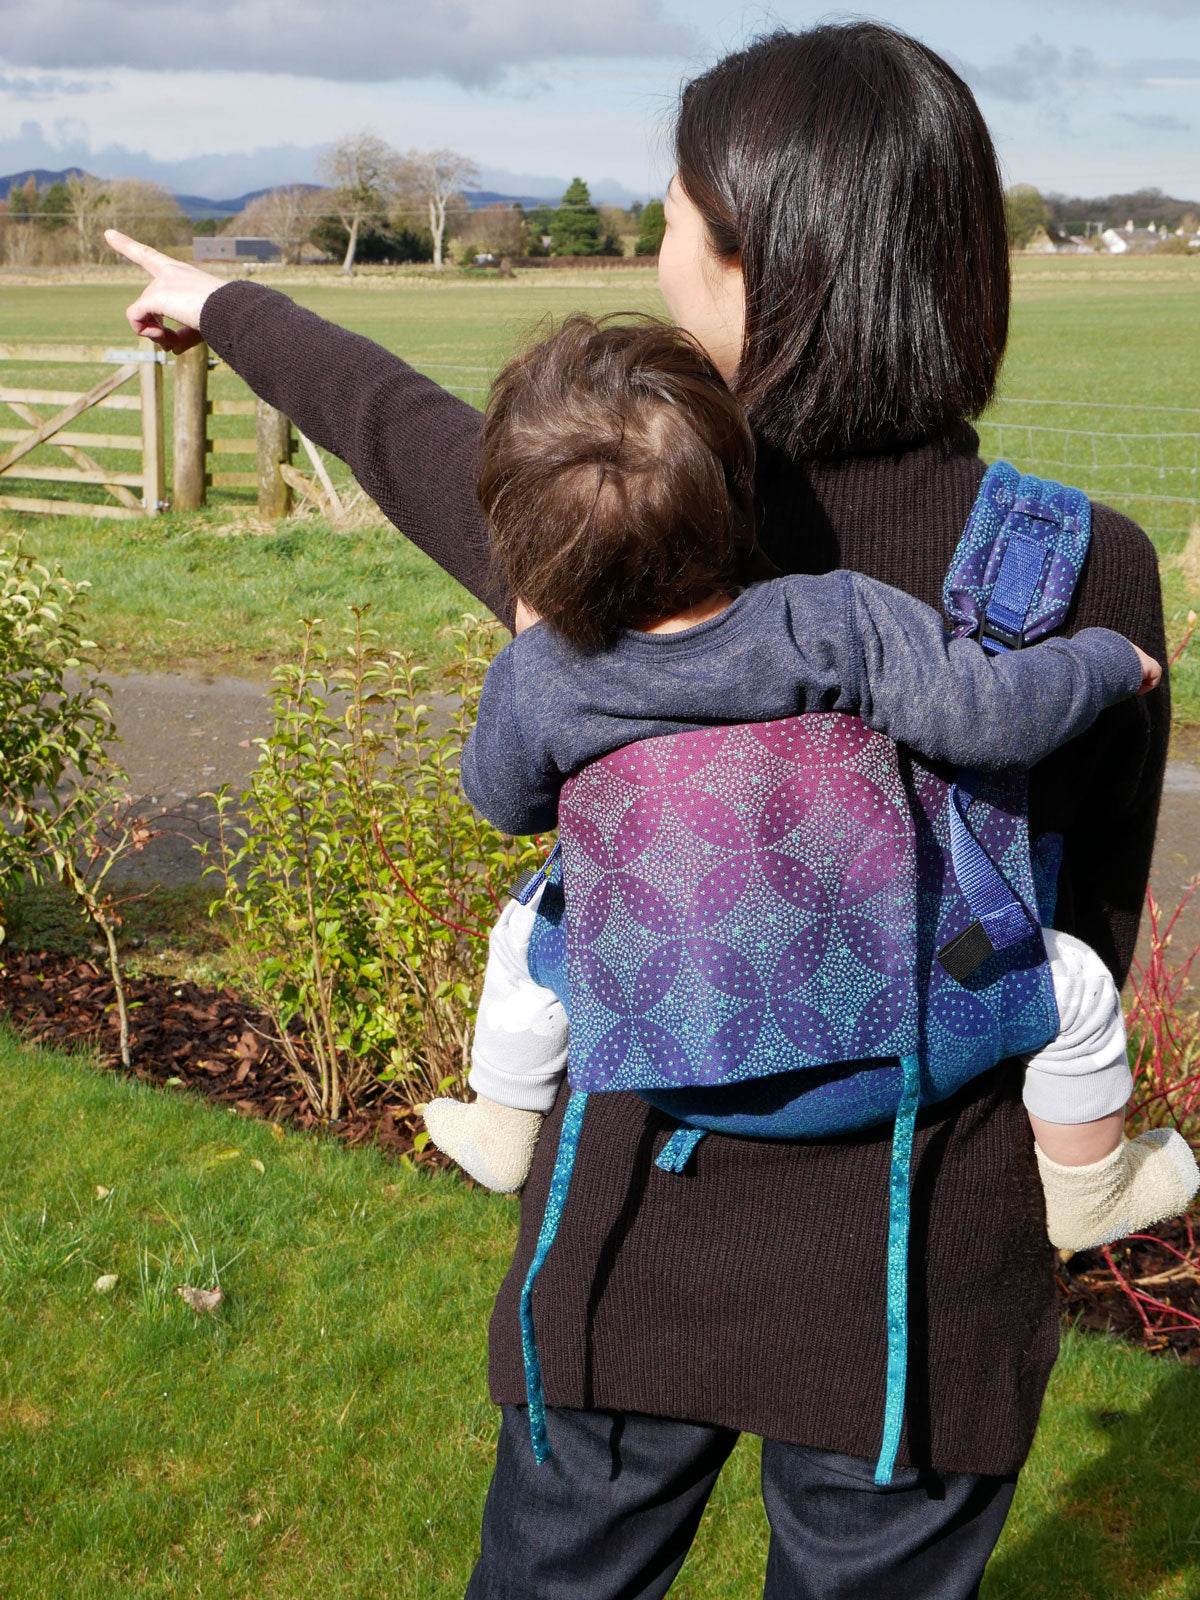
The onbuhimo carrier is inspired by traditional Japanese carriers. The design is intended for back carrying. Whilst it is possible to use it for front carries this is unlikely to be comfortable. The onbuhimo does not have a waist belt like other baby carriers do. It appears a bit like a baby back pack due to its structure, which is similar to a rucksack.
Shop Oscha Made to Order Onbuhimo Carriers
What's the difference between a baby carrier and an onbuhimo?
The main difference is that most buckle baby carriers have a waist belt and an onbuhimo carrier doesn't. The onbuhimo replaces the need for the waistband by having the straps attach directly to the base of the body panel. Baby's legs go through the strap loops and the panel forms a hammock underneath, holding baby safely to the wearer.
Onbuhimo on left (no waist belt), baby carrier on right
Shop Oscha Made to Order Onbuhimo Carriers
Why would I choose an Onbuhimo Carrier?
This is the carrier for you if you're looking for something for quick up and downs for a toddler. Here are the top reasons to choose an onbuhimo carrier:
| PROS | CONS |
| Child is on your back so your front is free for other tasks | Not as comfy for longer carries |
| Back carries are easier for walking | Can't be used for newborns and babies who cannot sit unassisted |
| Fast to use | Not great if you have picky shoulders |
| No waist belt and the light construction make this a light and small package to carry around | Not ideal if you haven't built up your 'babywearing muscles as your child grows |
| Good for high back carries - baby can see over your shoulder | |
| Good for short carries | |
| No waist belt - can be good for pregnancy or if you don't like anything pressing around your middle |
Are onbuhimo comfortable?
Because all the weight of an onbuhimo goes through the wearer's shoulders, this type of carrier are usually recommended for shorter carriers. If you carry your baby from a young age and build up the relevant muscle required you should also find this quite a natural progression. Many people love on onbuhimo because it puts no pressure on the waist and they like the weight going through the shoulders. Other people prefer different types of baby carrier that distribute the weight more evenly across your shoulders and waist.
What age babies can use an Onbuhimo Carrier?
Wondering when would I can use an onbuhimo? Typically, because this is an 'arms out' carrier that is worn high on the back, you would need your baby to have full head control and to be able to sit unaided. The minimum would usually be around 4 months but it really depends on your child. Many children will not be ready to sit unassisted until 5 or 6 months or older.
These are great carriers for babies over 6 months and for toddlers, especially if you're looking for something lightweight, easy to use and for quick ups on your back.
How do I use an Onbuhimo carrier?
They are one of the more simple baby carriers to put on for two reasons -
- there is no waist belt to mess around with
- you can loop baby's legs through the strap holes first, which makes them feel more secure and simple to put on.
Check out this quick video to see how fast it can be, then we'll look at a more detailed tutorial.
How to Use an onbuhimo carrier step by step
Set up the carrier
- Adjust the width so it will fit your baby knee to knee by tightening the width adjuster.
- Tighten the perfect fit adjusters as needed - you will learn if these are necessary for you. The reason to tighten them is if you cannot tighten the long webbing at the ends of the shoulder straps enough. Tightening the PFAs allows you to get baby higher on your back.
- Tighten or loosen the strap webbing enough for you to get your arm through easily - you will learn what is best for you after trying a few times.
How to get baby on your back in an onbuhimo carrier
- Using a surface such as a chair or table, lay the carrier out with the warning label facing up. Seat your baby on top of the carrier. Put their legs through the straps on each side. Bring the panel up around your baby so it goes around their back and under their arms. Hold the straps at their front securely in one hand.
- Put one foot on a chair so you can support your baby on your knee. Placing your free hand under baby’s bum, lift them up to your knee.
- Hold the straps securely in your right hand* as you slip your left hand through the left side strap.
- Move the left strap on to your left shoulder. Then bring your left hand round to support baby under their bum and begin to shift them on to your back.
- Without ever letting go of the straps, switch hands and hold both straps with your left hand. Bring your right hand round and support baby under bum, shift them fully on to your back.
- Now take the right side strap in your right hand (continue to hold the left strap with your left hand). Bring the right strap over to the right side, keeping both straps taught.
- Hold the right strap with your left hand as you bring your right elbow and then arm through the strap.
- Hold both straps with one hand at your chest and tighten the webbing.
- Release your hold on the straps and tighten the webbing further as needed.
- Check the seat flap is tucked under and your child has a good pelvic tilt.
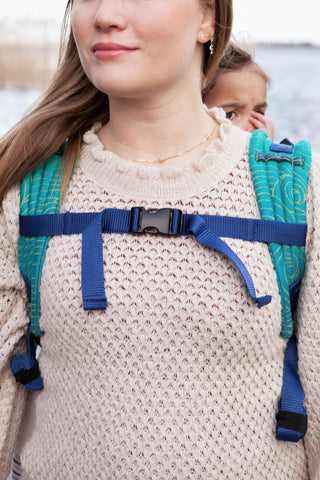
- Click together the chest strap and tighten the webbing as needed.
- You want your baby to be sitting high on your back so tighten enough to allow for this.
* If it feels more comfortable to work on the other side then you can and mirror these instructions.
Here's another option for getting baby on to your back that can feel even safer. You simply sit in front of your baby, after you've passed their legs through the straps, and then put the straps on each shoulder.
How to get baby down from an onbuhimo
To take baby out -
- loosen the chest clip
- loosen the strap webbing
- bring baby round to one hip
- pass your arm out of that strap
- bring baby fully round and then unclip the chest belt
Always keeping one hand on baby and one on the shoulder straps.
What are the special features of the Oscha Onbuhimo Back Carrier?
As with all Oscha carriers, we carefully consider both the form and function. We carry out extensive testing with customers and Sling Consultants and of course, all our carriers are safety tested.
Key Features
- Contoured straps with quilted padding, moulds to wearer, no thick, stiff padding
- Perfect fit adjusters (PFAs) allow you to adjust the shoulder strap length further - this is especially helpful for petite wearers or those who need to adjust the carrier for use between 2 different sized users.
- Leg padding for your child's comfort
- An adjuster is built into the base of the carrier, this allows you to reduce the width of the carrier so it can fit babies or toddlers. This means the carrier grows with your child
- Ergonomic, hip healthy carrier - this carrier holds your baby in a 'spread-squat position', which is advised for healthy hip development
- Hand made in Scotland from specially British woven jacquard sling fabrics
Shop Oscha Made to Order Onbuhimo Carriers
Learn about the different types of baby carriers available
Check out this page for an in-depth review of onbuhimo's and how they compare with other carrier types.





 https://oschaslings.com